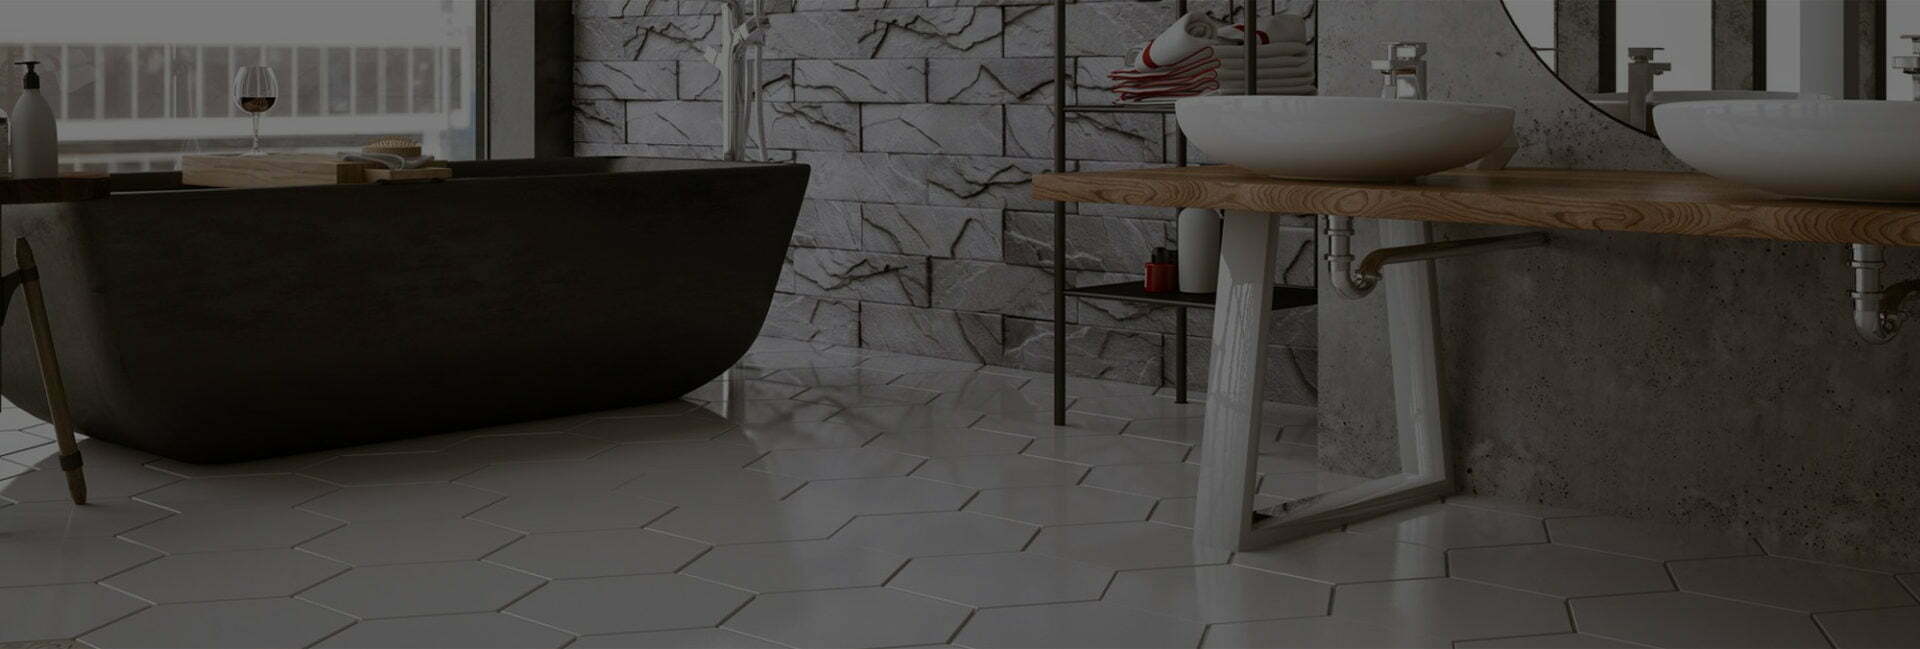
How to Tile Walls and Floors – A Simple DIY Guide
Whether you are tiling your kitchen, bathroom, living area or hallway, there are certain rules to follow to achieve a durable, attractive look at the end of your refurbishment project.
Our guide will take you through the core ideas and tips around how to tile both walls and floors and answer common questions, such as which should you tile first and which equipment you need?
To start, let’s look at the best way to plan your tiling at home to help ensure it’s a success.
How do you plan tiling?
Type and style
-
 Brazilian£35.98/m2
 -
 Slate Stone£35.98/m2
 -
 Mint Fossil£35.98/m2
 -
 Spectra£41.89/m2
 -
 Grit£91.25
 -
 Ker Lys£29.93/m2
 -
 Quantum£42.00/m2
 -
 Polaris£29.93/m2
 -
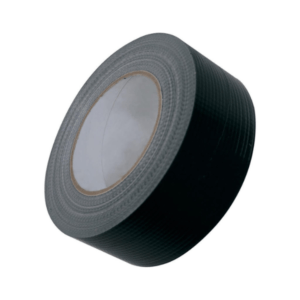 Underfloor Fixing Tape£20.70
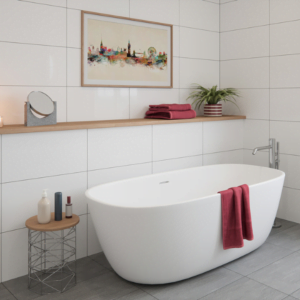
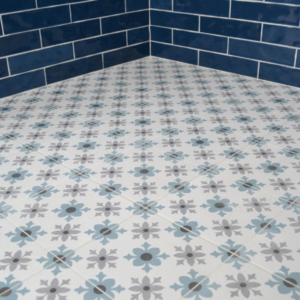
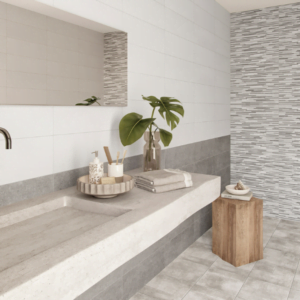
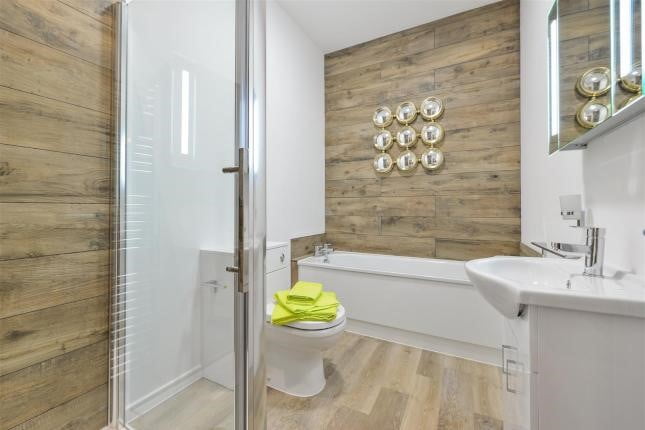
Once you’ve decided to tile a room or area in your home, take the time to choose the right tiles to suit both your personal tastes and their chosen location. Consider the look you hope to achieve and whether this involves textured tiles, mosaics or gloss, then think about the best type of tiles for the room. For example, more durable tiles are suited to kitchen splashbacks, and you’re likely to choose calmer tones for bathrooms and wetrooms.
Quantity and overage
Then, carefully measure the space for the number of tiles you need so you know the quantity to order and can price up your choice against your budget, Take into account estimated overage. At Eurotiles we add a 10% safety to all orders at checkout to ensure you have enough tiles for your project and to cover human error and breakages.
Obstructions – pipes, electrical sockets – in any room of your home may affect the number of tiles you need and also which tools are required, so don’t overlook this as you plan.
Read our guide to measuring up to help with this process.
How do you prepare a surface for tiling?
Once you have decided on your tiles, it is time to prepare your surfaces so they are ready for tiling. Having a clean, smooth surface is very important to give you the best start – but what does this involve.
- Using a hammer and bolster or stripping knife, remove any current tiles or wallpaper from the surface.
- Assess the condition of the wall; check that it is flat and that any holes or cracks are minor. If required, repair the holes and cracks with plaster.
- For any exposed studwork or new boxing, apply appropriate cement backer boards to the surface with adhesive or screws as per the manufacturer’s instructions, This will help with waterproofing and make them level for tiling.
- Most types of tile adhesive will require the surface to be sealed prior to applying adhesive. Check the manufacturer’s instructions first.
At this stage, seek out advice from professionals if required – ensuring this foundation work is correct will decide whether your tiling is a success.
Do you tile a wall or a floor first?
Whilst you can tile either one first, popular opinion based on experience is that is is easier to tile the walls first and then the floor, if you are tiling both in a room.
This ensures that you keep the floor tiles cleaner as you won’t be doing so much work around them once they are installed. A good option is to tile the walls apart from the bottom row, tile the floor, and then tile the bottom row on the walls.
However, it is largely down to personal preference. If you tile the floor first the main benefit is that when you move on to fix the wall tiles, you can hide the cuts in the floor tiles where they meet the wall.
How to know where to start and getting it right

One of the biggest mistakes when tiling is not working out the correct place to start from.
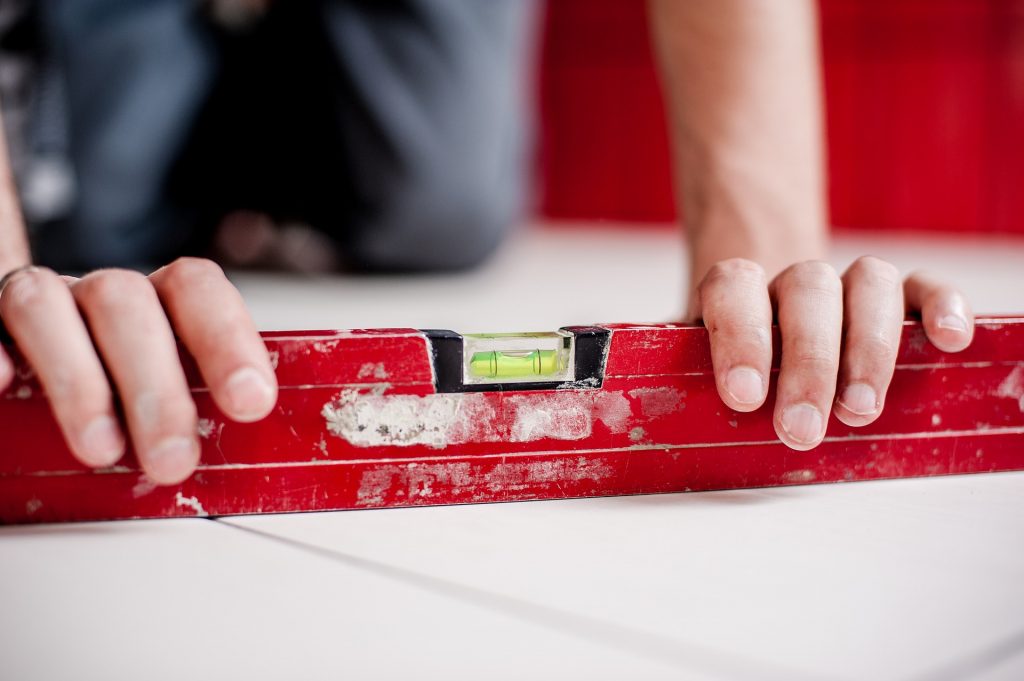
When marking out for the wall tiling it’s worth using a level to mark all the different height points on one wall i.e floor, ceiling, top of the window, the bottom of the window, top of the door architrave, together with any significant areas that could result in having a tiny piece of tile showing.
Using a tile, work out the best place to start so as not to end up with any silly small bits showing.
Once you have done this, mark where the bottom grout joint will be, then using a spirit, mark all the way around the room where your new starting datum point will be (when using the level around the room always end-for-end the level in case it’s slightly out).
Do the same working out as above to create your vertical starting point.
Do you need to cut tiles to fit the space?
For almost any tiling project, you will need to cut your chosen tiles to size to fit the space accurately. There are two main reasons for this:
- It is unlikely a round number of tiles will fit the length and width of your wall or floor as they weren’t designed specifically with your room in mind, meaning tiles for room edges will need to be cut.
- Most rooms will have obstructions and obstacles such as plug sockets, toilets, and piping to navigate around.
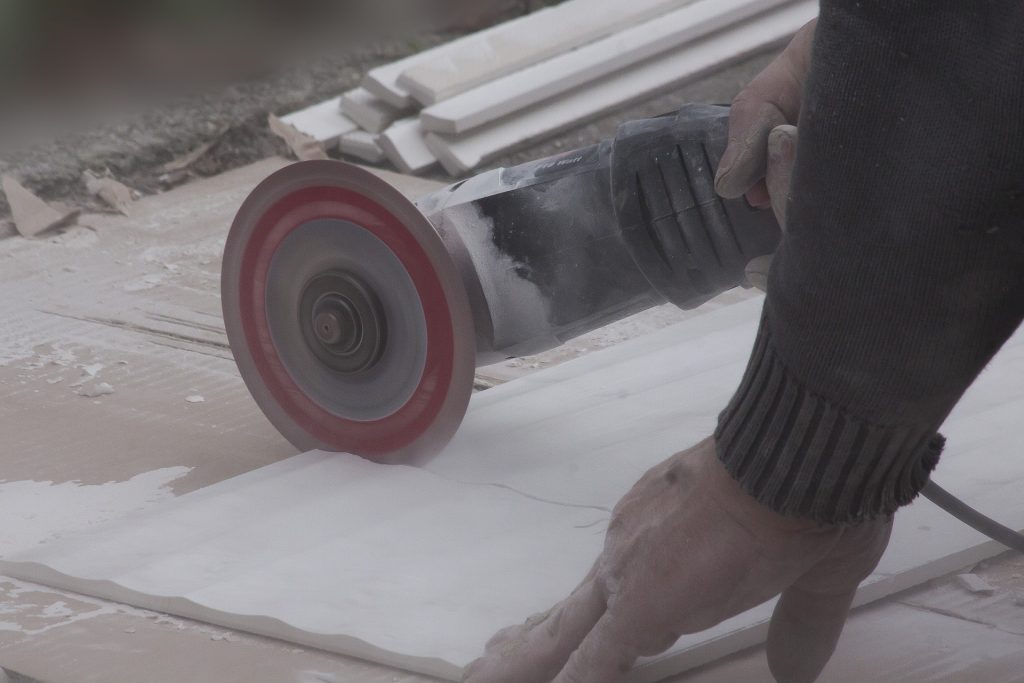
To cut tiles, measure twice or more to ensure you are cutting them to the correct measurements, They occasionally have a pattern or top edge that needs to be taken into account when marking them for cutting. Use tools you feel confident using; options include manual or electric cutters, tile scribes and nibblers
How to tile a wall – step by step
- First fix a baton horizontally to the position you marked earlier as your datum point and check again with a level
- Starting in the middle of the wall on a vertical datum point, spread the adhesive evenly and place the first tile on to it.
- Work your way along the wall, using tile spacers between the tiles to ensure that they are evenly spaced. Continue up the wall, cutting any tiles to size where necessary.
- Once you have finished and the first row of tiles is firm enough, remove the baton and fix the bottom row of tiles.
- If you are using an edging strip to conceal a raw edge, place it in position with the bottom edge under the end tile of the first row, then continue to place tiles on top of it as you progress up the wall.
- Once the adhesive is sufficiently dry, remove any protruding spacers together with any access adhesive.
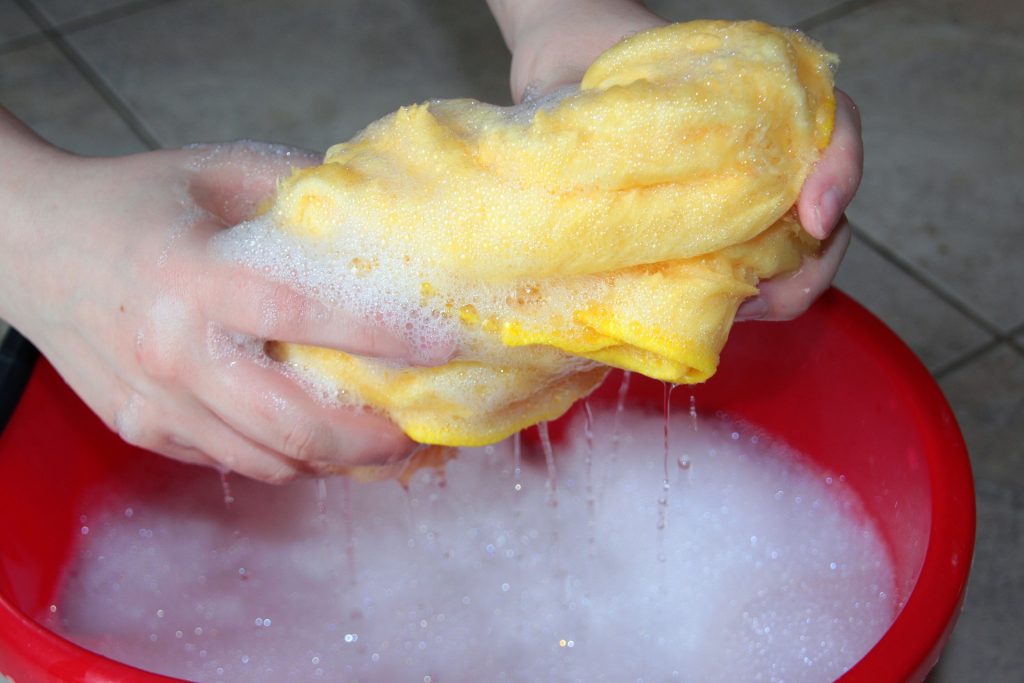
- Grout the tiles using a grout float, pushing the grout into the spaces between them. Only do as much of the grouting as can leaving time to sponge off before it goes hard. Allow the grout to dry to a point when washing it off leaves a nice finish and doesn’t take it straight out of the joints you’ve just done.
- Finally, clean any excess grout residue off the tiles with a damp sponge and wait for the grout between the tiles to dry. After about a couple of hours buff with a clean dry cloth to achieve the final finish.
- In wet areas, use a good quality silicon at junctions as per manufacturer’s instructions.
After the grout has dried, you can add decorations, hangings and if they are bathroom tiles, run a bath or shower, exposing them to moisture.
How to tile a floor – step by step

- Ensure that the floor is solid and that it does not flex under foot. Wooden floors should have sheets of 6mm cement backer board bonded to the floor with tile adhesive and screws or decoupling matting as per manufacturer’s instructions. Then, use a flexible adhesive to install your desired tiles.
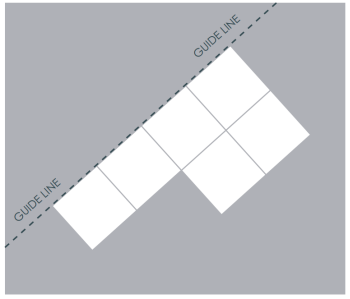
- Decide on the pattern in which you are going to lay the tiles and work out the easiest place to start. In a square room this is normally the centre rather than one edge.
- Lay yourself a guideline to ensure that the first row is straight and follow this to the edges of the room, spreading an area of adhesive on the floor and bedding the tiles into it. Make sure that the underside of the tiles is fully covered as it could lead to cracking if there is space underneath them.
- Use spacers to ensure that the tiles are evenly spaced and avoid walking on them until the adhesive is fully dry. On larger size tiles, especially polished finished tiles, it’s worth using a lash clip system to ensure spacing and leveling.
- Once dry, grout the tiles as detailed previously in the wall tile section.
Certain tiles such as natural stone and some porcelain need to be sealed after laying. Ask in store for details of how to treat your tiles and follow the manufacturer’s instructions for sealing and cleaning products.
Essential tooling equipment checklist

Safety equipment
- Safety goggles and gloves
- Dust mask
Tool kit
- Ruler
- Pen or pencil
- Tape measure
- Trowel
- Spirit level
- Sealant smoother
Tiles and materials
- Chosen tiles with estimated overage
- Plaster (for filling in holes)
- Sealer
- Tile spacers
- Tile adhesive
- Grout
- Tile trim
- Sponge and cloth
If required
- Tile cutters – hacksaw
- Cartridge gun
Shop high quality tiles and tools online and in store
At Eurotiles & Bathrooms, we have over 20 years’ experience in high-quality tiles and have four showrooms in the South of England. Browse our extensive range online and visit us in store for real-life displays and inspiration.
Our expert team are on hand to help you plan your tiling projects, offer advice on the right types and quantity, and provide tiling and grouting tools. If you have any further questions, don’t hesitate to get in touch – we’d love to hear from you.
Call 01903 775778 [email protected]
-
Brazilian£35.98/m2
-
Slate Stone£35.98/m2
-
Mint Fossil£35.98/m2
-
Spectra£41.89/m2
-
Grit£91.25
-
Ker Lys£29.93/m2
-
Quantum£42.00/m2
-
Polaris£29.93/m2
-
Underfloor Fixing Tape£20.70