How to Measure For Tiles – Wall and Floor DIY Guide
How do you plan to measure for your tiles?
If you’re completing this work yourself as part of a DIY project without a fitter, your main aim should be to understand how many square metres of tiles you need for your home installation, including overage.
Our guide will help you complete your project successfully, covering both wall and floor tiles, while reducing stress.
First things first, in order to begin planning your tiling renovation, you will need to understand how to measure tiles.
What tools will you need to measure tiles?
- A tape measure
- A spirit level
- A notepad and a pencil or pen (or make a note on your phone)
- A calculator
- Someone to help
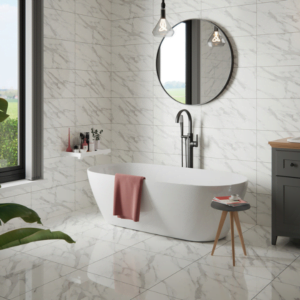
Floor tiles
Measuring your floor area for tiles
To measure your floor area for tiling, we recommend working in metres. You may also work in inches and feet, but you will likely find that the tile shop of your choice will work in the decimal system, be that millimetres, centimetres or metres.
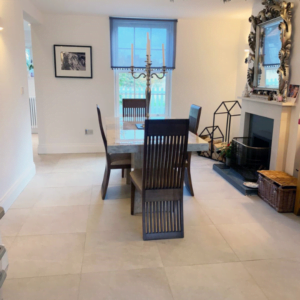
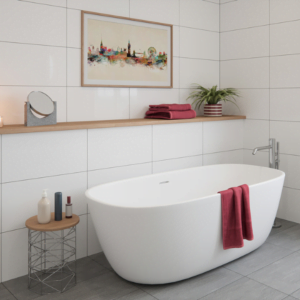
Rectangular room types
Simple shaped rooms, such as rectangular or square are the easiest to measure as there are no awkward spaces to account for.
5 steps to measure floor tiles for a rectangular room:
- Measure the length of the shorter wall and note down the measurement in metres, e.g. 3.2m
- Measure the length of the longer wall and note down the measurement in metres, e.g. 5.0m
- It is simple to work out the area. Take your two measurements and calculate the following: length of shorter wall x length of longer wall – 3.2 x 5.0 = 16.0m2
- Add in a wastage allowance, otherwise known as overage. We recommend 10% extra as being sufficient to cover wastage, cuts and human error. To add 10% to your total area, multiply the area – 16 x 1.1 = 17.6m2
When measuring with your tape measure, ensure it is as flat on the surface as possible for the most accurate results. If available, ask someone to help so they can hold the tape in place as you check and record the results.
-
 Faubourg£41.84/m2
 -
 Gallery£56.96/m2
 -
Product on sale
 TaurusOriginal price was: £29.95.£21.06Current price is: £21.06./m2
 -
 Alba£47.89 – £47.92/m2
 -
Product on sale
 ProvenzaOriginal price was: £56.41.£41.61Current price is: £41.61./m2
 -
Product on sale
 GrungeOriginal price was: £35.89.£17.94Current price is: £17.94./m2
 -
 Crest£59.89/m2
 -
 Slate Rock – Rectified Outdoor Porcelain Tiles£29.92 – £35.78/m2
 -
 Canada£29.93 – £29.96/m2
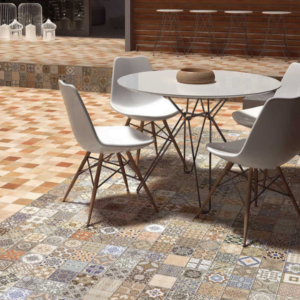
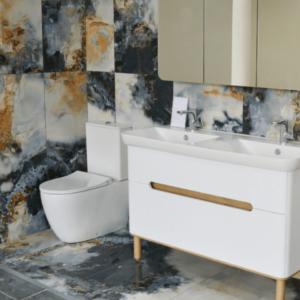
Complex rooms and spaces
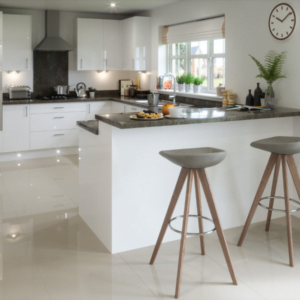
Of course, not all spaces will be this simple to measure. Kitchens and bathrooms in particular will have cabinets and piping to cut around that will change the amount of tiling you need.
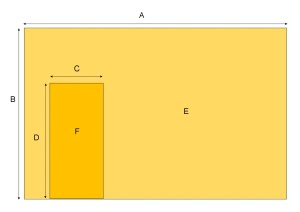
3 steps to measure floor tiles for complex room shapes:
- Drawing a sketch of a bird’s eye view of the room or space.
- Divide your sketch into regular rectangle shapes, making sure you don’t miss out any areas and number each rectangle.
- Calculate the area of each of the rectangles first then add them together to get the area in square metres.
For example:
- 2.45 x 2.45m = 6.0025sqm= 6m2
- 2.26 x 2.50m = 5.65sqm = 5.65m2
- Add up the above figures for the total 11.65 sqm
- Add on the additional 10% to allow for wastage 12.815 sqm
A common conception is that tiles come in metre boxes but this is not the case in most circumstances. You can calculate the number of tiles you require by the following method:
Firstly, check the size of the tile you have chosen to use for your new floor, this time in centimetres; 300 x 600mm equals 30 x 60cm.
On a calculator enter 10,000 then divide by 30, then divide by 60. You should in this case have an answer of 5.5555. Multiply this by the total area including wastage. For the 12.815 sqm in this example, 12.815 sqm = 71.184444 tiles (72 tiles).
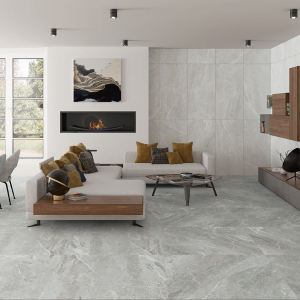
Large format floor tiles
As our customers are more often using larger format tiles, it’s worth marking them out on the floor they are to be laid on. This will greatly help with visualising how the cutting and centring of the tiles will finish. Once you have done this it’s just a case of adding up the number of tiles you have marked out on the floor.
-
Product on sale
 Materia – Outdoor Floor Tiles£39.54 – £47.88/m2
 -
 Starburst£89.86 – £90.00/m2
 -
 Caracalla£53.81 – £53.92/m2
 -
 Stonetech – Stone Effect Porcelain Tiles£29.92 – £29.97/m2
 -
Slate Rock – Rectified Outdoor Porcelain Tiles£29.92 – £35.78/m2
-
 Milkyway£59.90/m2
 -
 Superb Marquina£59.89/m2
 -
 Galaxy£59.89/m2
 -
 Pacific£59.89/m2
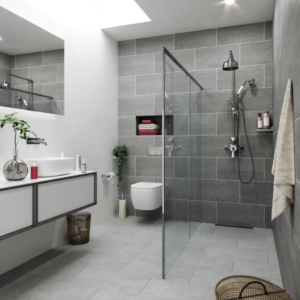
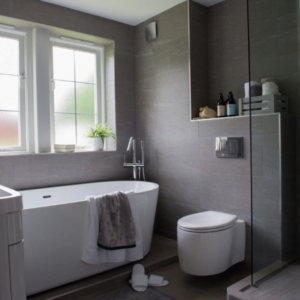
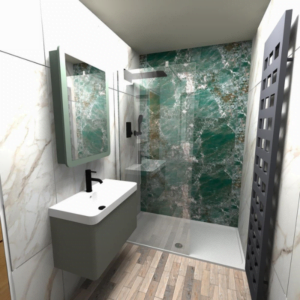
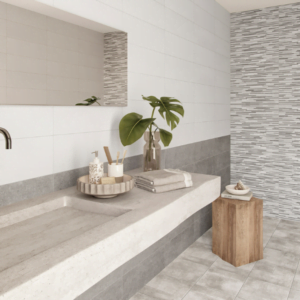
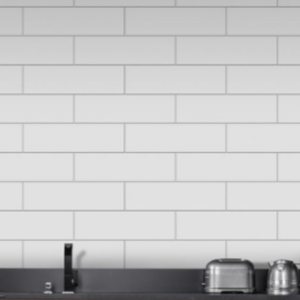
Wall tiles
Measuring your wall area for tiles
Typically, walls are rectangular in shape so appear quite simple to measure, however windows, doors and any fixed features such as cabinets and boilers need to be accounted for in your measurements.
To do this, first calculate the area of the entire wall and subtract the area of any doors and windows. In this way, you only measure the section of the wall that you wish to tile. For window areas you will need to take into account the distance the tiles return into the reveal.
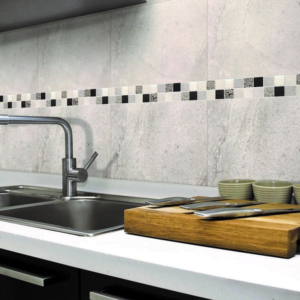
This is ideal for measuring the amount of tiles you need for a splashback area in your kitchen, or the tiles in your en suite.
-
 Spectra£41.89/m2
 -
 Ker Lys£29.93/m2
 -
 Quantum£42.00/m2
 -
 Polaris£35.95/m2
 -
 Classic Estaturio£35.89 – £53.90/m2
 -
Product on sale
 SanOriginal price was: £32.33.£24.00Current price is: £24.00./m2
 -
 Mont Blanc£41.92 – £59.89/m2
 -
Product on sale
 MineraliaOriginal price was: £41.94.£18.00Current price is: £18.00./m2
 -
 Tuscany£41.94 – £59.93/m2
7 steps to measure wall tiles
- Sketch out the wall you are looking to tile
- Measure the length of the wall area you’d like to tile
- Measure the height of the wall area you’d like to tile
- Calculate the area of the wall (length x height); example 3.2 x 2.5 = 8m2
- Measure any windows, doors, or obstructions on the wall; 1.1 x 1.1 = 1.21m2
- Subtract the area of the window from the wall; 8 – 1.21 = 6.79m2
- Add on the additional 10% to allow for wastage; 6.79 x 1.1 = 7.47 m2
Repeat the process for each wall in the room that you wish to tile, then add the totals together for the m2 of tiles required to complete you interior design work.
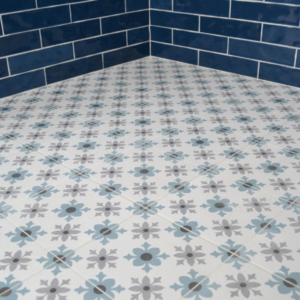
How do you measure for border tiles?
If you’re looking to calculate how many border tiles you require, you will need to know the linear distance to cover.
What is the linear distance?
Linear distance is the horizontal straight line distance that covers the entire circumference of the room.
In your sketch, take a look at the total length of each of your walls and add them together. This will give you your total linear distance.
Remember, you must include any deductions where the tiling will not feature, for instance, the measurements of doors and windows, and as before, add 10% for wastage.
How do you determine spacer size?
At Eurotiles & Bathrooms, we recommend that you use tile spacers in order to ensure a professional finish that fits perfectly into a variety of styles and designs. Spacers come in a range of shapes and sizes to suit all applications.
By using tile spacers you will be able to create a consistent, symmetrical pattern when installing floor or wall tiles
How do you measure tiles to select the right spacer?
Take a look at the edges of your tiles. Are they irregular, such as tumbled marble tiles? Or do they have a smooth edge?
Tiles with irregular edges typically require spacers approximately 3-5 mm in size. Tiles with a smooth edge need a small spacer, measuring only 1-2mm in size.
Calculate the size of the grout joints by reviewing the area where the tile will be installed. Wall tiles require smaller grout joints and spacers than floor tiles. Wall tiles with smooth edges use a grout joint of approximately 2mm in size, whereas floor tiles with smooth edges will likely require a space 2-3 mm in size.
We always recommend that you check whether your chosen tiles have been rectified. A rectified tile has been cut down or manufactured to have smooth and extremely straight edges. For tiles that have been rectified, tile spacers as small as 1-2mm, even on the floor, can be used.
While we hope this guide has provided you with useful insight into the process, if you need any help at all measuring up, choosing your tiles and picking the right tools and grout for your project, don’t hesitate to get in touch as we’d be more than happy to help.
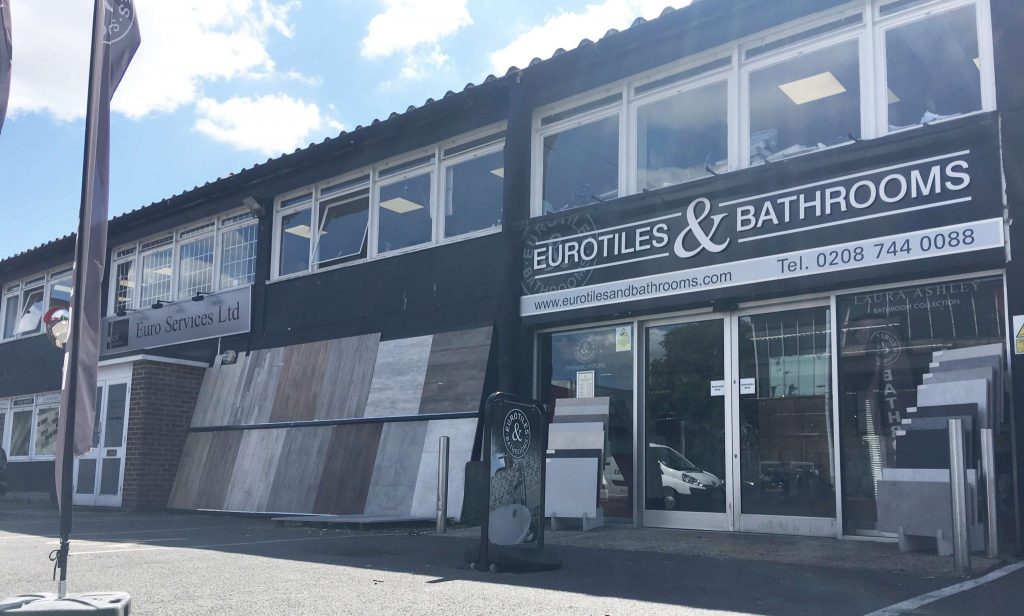
Speak to our experts and order high quality tiles and tools online
If you’re considering placing an order, we will be happy to assist you in confirming the quantities required. Certain materials and designs may require ordering overages. No matter your requirements, we are here to help you select and order the perfect tiling solution for you.
If you’re searching for specific tiles, take a look at our exquisite ranges of wall and floor tiles either online or in our South East stores. Our dedicated team of experts are on hand to help you plan your tiling projects and ensure they run as seamlessly as possible. Please contact us today if you need any guidance. We would be delighted to hear from you.
Call 01903 775778 [email protected]