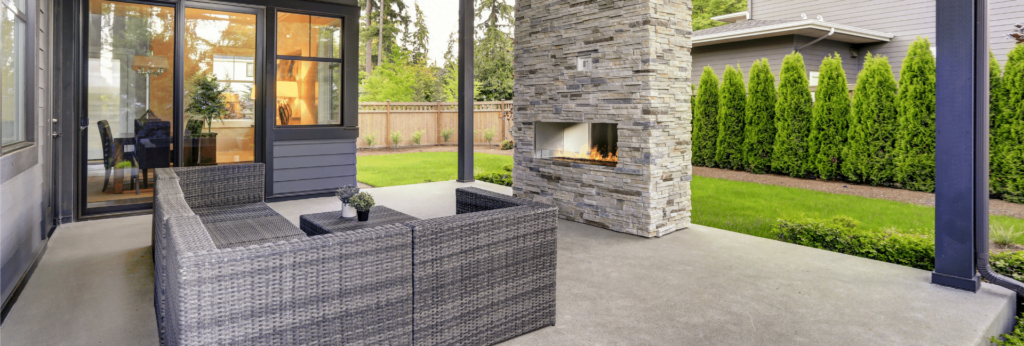
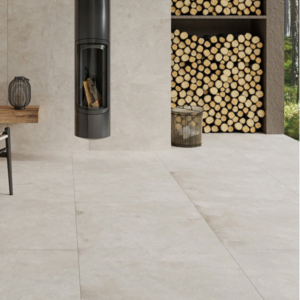
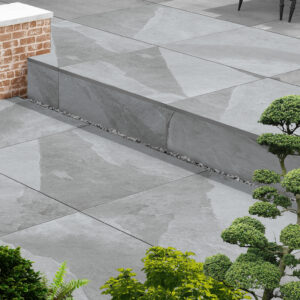
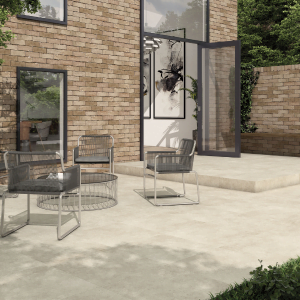
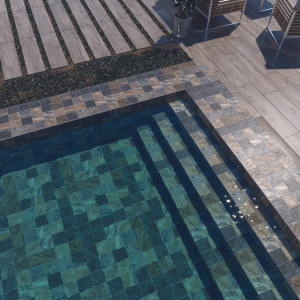
Transforming tired and outdated garden spaces can be so easy with the right vision and of course the right tiles. Now is the perfect time to elevate your outdoor space to make it as comfortable and as stylish as your home. By tiling exterior walls you can give an instant visual boost to any outdoor living space, garden tiles or patio. Easily create additional privacy, provide protection from the elements and add depth and texture to any space.
We’ve put together this handy guide to help you choose the right exterior tiles for your space, including information on the best grouts and adhesives for outdoor use and a step by step ‘how to tile an outside wall’ tutorial.
Why you would want to tile exterior walls
- Create visual interest in your garden
- Ensure privacy
- Protection from the elements
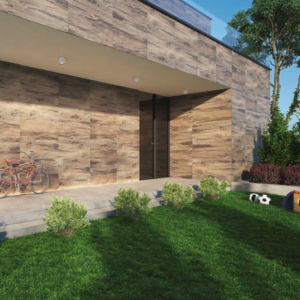
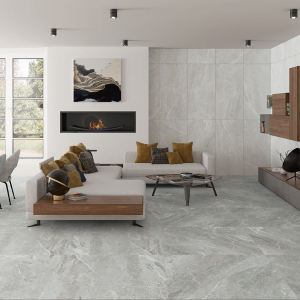
In exterior spaces, different finishes can often be applied to walls to create various finishes, by choosing to use outdoor tiles it’s easy to completely transform your external space, achieving a contemporary chic style that will bring it very much into the 21st century.
Create visual interest
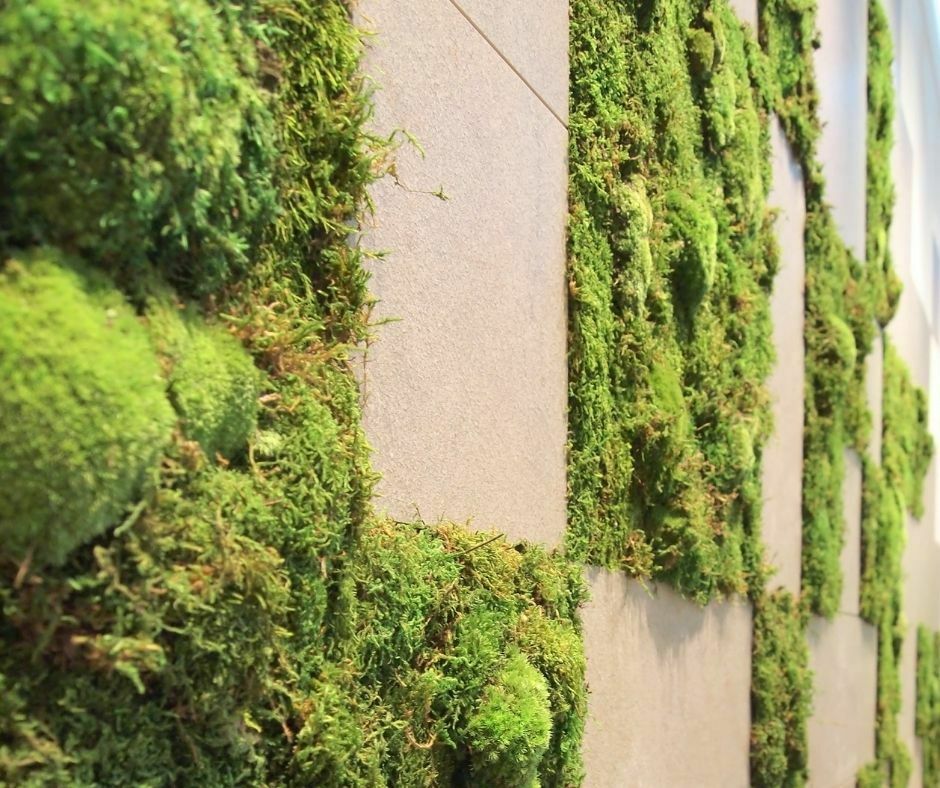
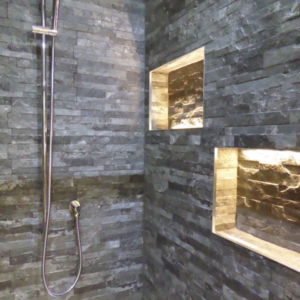
Decorative finishes for walls such as cladding, shingle and pebble dashing are common approaches to exterior finishes. However, using outdoor tiles instead offers a durable alternative that will really turn heads. Utilising outdoor tiles in your garden gives your the opportunity to easily add pops of colour, create separate areas, and add interesting patterns and additional textures.
In any size garden, tiled walls can be created to easily divide the garden into sections, each with its own aesthetic and purpose. For something visually spectacular and environmentally friendly consider creating a ‘living wall’, a combination of garden tiles and alpine plants, or even a space to grow salad, herbs or fruit.
Privacy
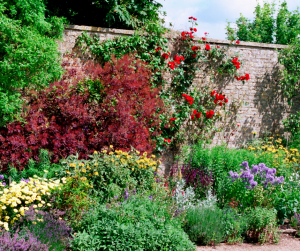
Tiled walled partitions in gardens can help to add a degree of privacy to your outdoor space. Larger gardens can be divided to incorporate more intimate smaller spaces, nooks and cosies. They can also help to create a barrier between you and any overlooking windows from neighbouring houses, allowing you to enjoy the great outdoors without the discomfort of prying eyes.
Protection
Outdoor tiles are much more durable than their indoor equivalents, making them a stylish yet highly durable option for your outdoor space. Weather-resistant and long-lasting, outdoor tiles also offer a high level of protection for exterior walls and surfaces, helping to reduce the risk of water ingress which can often lead to serious damp issues.
Outdoor tiles: a guide
At Eurotiles we get a lot of questions about tiling outdoor walls so we’ve put together this guide to help you transform your outdoor spaces.
What kind of tile is best for outdoor use?
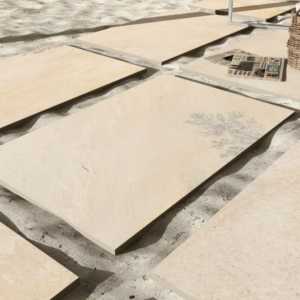
Because of the extreme ranges of weather and temperature exterior tiles need to be far more hardwearing than interior tiles. For this reason, porcelain tiles are the ‘go to’ choice for outdoor use. They’re fired at extremely high temperatures which ensure their resistance to freezing during winter months and cracking during the summer.
If you’re hoping to achieve a natural stone finish granite, slate, marble and limestone tiles are also popular choices for outdoor use. Whichever tile you intend to use, ensure that you opt for the ‘outdoor spec’!


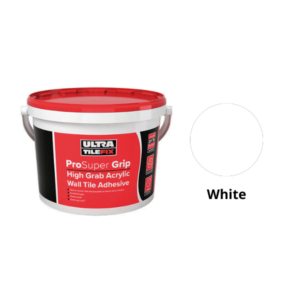
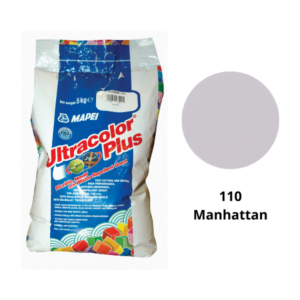
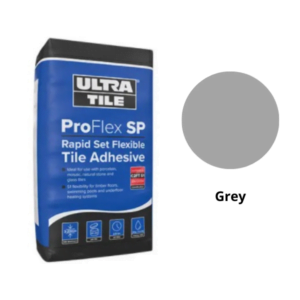
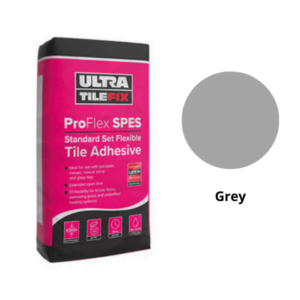
Which adhesive and grout to use for outdoor wall tiles?
Grout
Choosing a suitable grout for your tiling project will depend on a number of factors, such as the type of tile you choose and the external wall surface. Check out our ‘Different Types of Grout and When to Use Them‘ post for a comprehensive guide to grouting.
Adhesive
Modified thin-set mortar and polyurethane-based adhesives are both excellent options for external use. Both products are resistant to water and temperature fluctuations, and they are far stronger than typical construction adhesives like mastic or unmodified mortar.
Can you install tiles directly on a concrete wall?
Yes! Outdoor tiles can be installed directly onto existing concrete walls. In order to achieve a long-lasting finish you should:
- Ensure that the surface is clear of any dirt or debris
- Ensure that any cracks and gaps are properly sealed
- Allow the wall to dry thoroughly before installing tiles

How do you tile an outside wall?
Calculate how many tiles you will need for your project
Before you embark on your tiling project you’ll need to get yourself some tiles, but how do you calculate exactly how many tiles you’ll need? Well, with our handy per sqm calculator it’s incredibly simple! Just calculate the area you intend to tile in metres squared, input the figure and you’ll have the answer, our tile calculator is available on every product page. We also give you the option to include 10% overage with every order, just in case!
Prepare your wall for tiling
Using a stiff brush and water clear your surface of any dirt and debris. This stage is critical, the better prepared your surface, the better the application and the longer your tiles will last.
If you intend to use a modified thin-set mortar you do not need to worry about filling any cracks or gaps. If you’re using a polyurethane-based adhesive we recommend filling cracks and gaps at this stage.
Ensue you allow your surface to dry thoroughly before continuing on to the next stage.
Install your tiles
- Mark your surface in the centre (from left to right, and from top to bottom)
- From this centre point mark both vertical and horizontal lines
- Starting from the top left of your surface mark out the height and width of one tile, including the required grout spacing
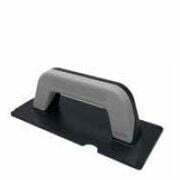
- Repeat working towards the centre of your surface. Grout spacers will help to make this stage easier
- Connect your marks with a straightedge and use a level to ensure that your lines are perfectly horizontal and vertical. When you begin tiling you’ll start from the intersection of your original horizontal and vertical lines moving outwards
- Apply your adhesive in quadrants of approximately 3 square feet taking care to ensure that the application is even.
- Lay your first tile and push firmly to ensure the tile adheres to your mortar or adhesive. Insert tile spacers, lay your next tile and repeat
Dry
Once complete you should allow your wall to dry for at least 24 hours before grouting.
Apply your grout
Remove your tile spacers and apply your grout. Check out our ‘8 Step Guide to Applying Grout‘ for a comprehensive ‘how to guide’.
Apply your sealing agent
Once your grout is completely dry you can apply your sealing agent, we stock a range of grout sealing agents that are suitable for outdoor tiling projects.
Get in touch
If you’d like advice on outdoor tiles, get in touch with our team who are always happy to help
-
 Brazilian£35.98/m2
 -
 Slate Stone£35.98/m2
 -
 Mint Fossil£35.98/m2
 -
 Materia – Outdoor Floor Tiles£47.88 – £71.95/m2
 -
 Rockland – Stone Effect Outdoor Tiles£47.48/m2
 -
 Bali Stone£35.89/m2
 -
 Pisa£59.56/m2
 -
 Borneo£59.35/m2