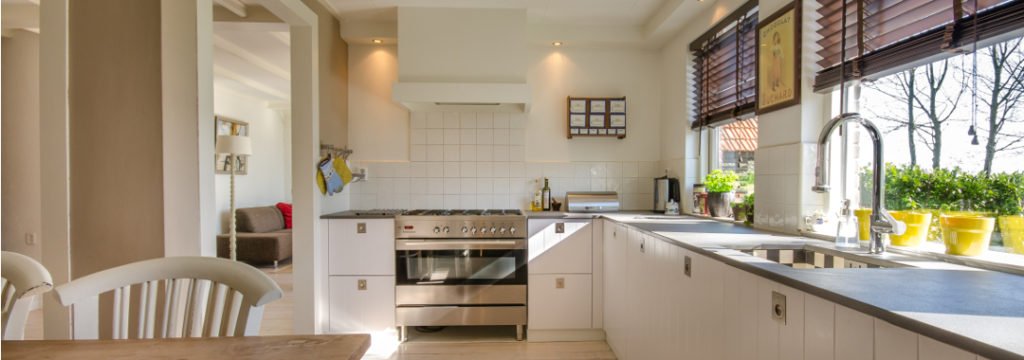
As silicone sealant creates a tight seal it is primarily used as a means of keeping water out of areas that might otherwise be subject to water damage – such as the walls in your kitchen or bathroom, or in the fittings between your windows.
Due to the nature of its job, which is essentially to tackle everyday wear and tear and to fight off water damage, over time your sealant can become discoloured and can very commonly begin to collect mould. This is especially common if your sealant becomes damaged.
Simply scrubbing at the tiles is unlikely to fix the issue. In fact too much abrasive cleaning can sometimes make the problem worse as you will slowly wear away at the sealant making it prone to potential mould and discolouration.
Luckily however the solution to this problem is quite a simple one, and, once fixed, you can go back to enjoying tiles that once again look as good as new, and then maintain them with sealant cleaning products.
What you’ll need to remove and replace sealant
Before you start the process, ensure you have the following materials and tools to hand.
Tools:
- Cartridge gun
- Sealant smoother tool
- Knife
- Scraper
Materials:
- Mould remover
- Methylated Spirit
- Sanitary sealant
- Gloves
- Cloth or Kitchen Towel
4 steps to remove and replace sealant
Step 1. Remove the sealant
Don’t be tempted to simply add the new sealant on top of the existing sealant as this won’t fix the issue, only cover it up for a period of time. In order to fix the problem you will first need to remove the old sealant.
First off, apply your sealant remover to the existing sealant being careful to follow the instructions on the packaging. Pierce and scrape away the old sealant using a sealant remover tool or a knife. Your sealant remover tool will have a pointed tip designed to get between your tiles and pierce the existing sealant.
If using a knife you’ll want to be extra careful to ensure you don’t press too hard and damage the surface beneath.
Step 2. Clean the sealant
Wearing gloves, remove any mould that may be left affecting the remaining sealant and the area between your tiles by using a mould remover. Check the product directions for how long it should be left before rinsing away.
Once you’ve rinsed away the mould remover, leave the area to dry thoroughly before moving on to the next step.
Step 3. Reapply anti-mould, waterproof sealant
Once the tiles have completely dried you can then move on to applying the new sealant. Before doing this however it is advisable to degrease the surface first with methylated spirit and a cloth. This ensures there are no issues with the adhesion of the replacement silicone sealant.
Once clean, apply your new sealant with a cartridge gun. Insert your silicone sealant into the cartridge gun and then slowly work your way from one end of the tile to the other being careful to keep a slow and steady pace.
You’ll want to ensure that you keep a consistent pressure to insert the sealant into the affected area and that you don’t leave any gaps along the way. Don’t worry if it looks a little messy as this can be cleaned later on.
Step 4. Smooth down the sealant
Once you have applied the new sealant to your tiles, they’ll be starting to look nice and clean once again. The final step from here is to finish it all off by taking your sealant smoother tool and gently putting pressure on the new sealant.
If you don’t have a sealant smoother tool to hand it is possible to use your fingers, however we would recommend a smoother tool to get a professional finished look and to avoid messy hands.
Once you have smoothed down the sealant, simply leave it to dry and your tiles will be as good as new. Before allowing the sealant to come into contact with water, ensure it’s completely dry – we recommend waiting 24 hours for safety to protect the adhesion of the tile.
Again, always check the product guidelines and instructions on your chosen sealant products before use.
Contact our team for advice
At Eurotiles & Bathrooms we have everything you need to create your dream home. From stylish sanitary ware and furniture, taps, showers and accessories to a huge range of different style tiles, we’re on hand to help.
As experts in home improvement we are also on hand to help with any queries or questions you may have in relation to DIY work you would like to carry out yourself. Visit our showrooms for inspiration and email us on [email protected] for any further information about any of our stock.
-
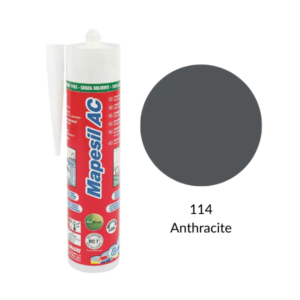
 Silicone 114 Anthracite£12.48
 -
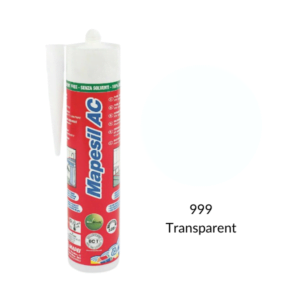
 Silicone 999 Transparent£12.48

