Grouting is the final and most important step in finishing any tiling project. From kitchen tiling to bathroom tiling and flooring, you’ll need to grout properly to protect your tiles from dirt, moisture and other sources of damage and wear. Grouting is fairly simple – arguably much simpler than fitting the tiles in the first place.
However, as it is the last step in the process, it is often overlooked and when rushed can result in a poor finish. . Use our guide below to ensure you achieve the professional results you desire. Visit one of our stores or order grout, tools and accessories online.
What you’ll need to grout tiles
- Tile Grout for your specific tiling and room, e.g. kitchen, bathroom or flooring grout
- Spreader tool, grout float or Squeegee
- Sponge and bucket
- Margin trowel
- Rags and cloths
- Masking tape
- Putty knife
- Vacuum cleaner
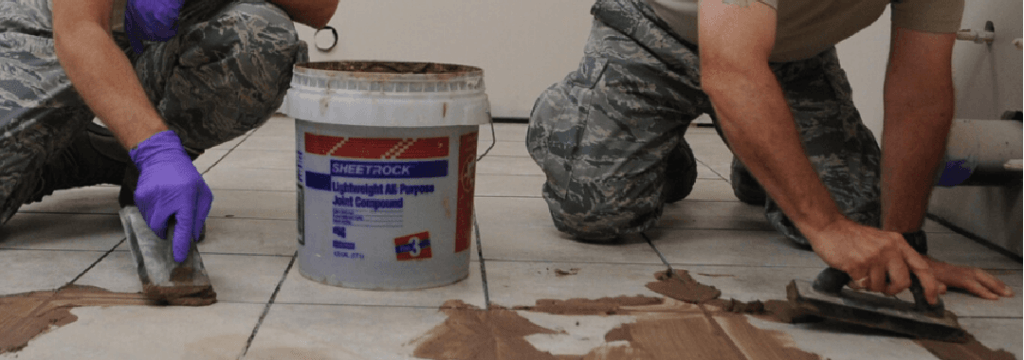
1. Preparation
Preparation is absolutely key. Prepare your joints by smoothing out excess adhesives. Do not chip the tiles but smooth out grooves between the tiles. Remove larger particles and vacuum between the tiles to remove any particles and debris.
Tip: Tape-off areas you don’t want to be covered in grout, e.g. next to painted walls or edging.
-
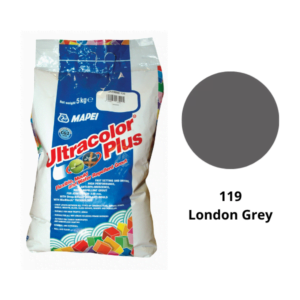 Mapei Ultracolor Plus 119 London Grey Grout£20.28
 -
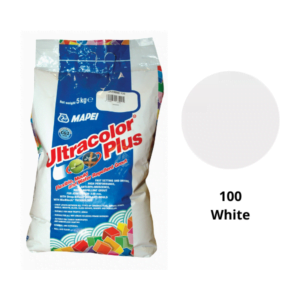 Mapei Ultracolor Plus 100 White Grout£20.28
 -
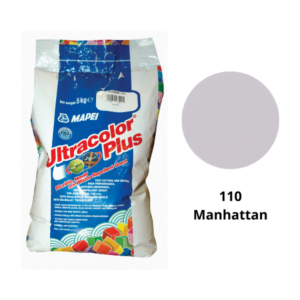 Mapei Ultracolor Plus 110 Manhattan Grout£20.28
 -
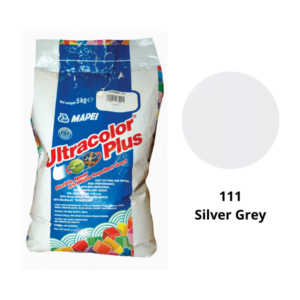 Mapei Ultracolor Plus 111 Silver Grey Grout£20.28
 -
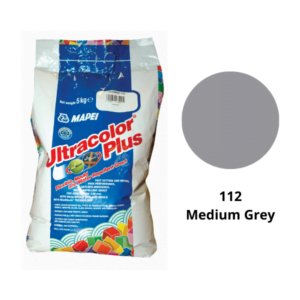 Mapei Ultracolor Plus 112 Medium Grey Grout£20.28
 -
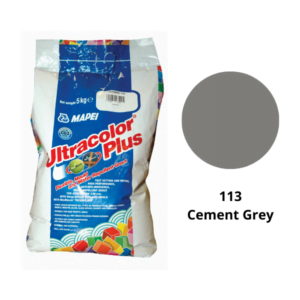 Mapei Ultracolor Plus 113 Cement Grey Grout£20.28
 -
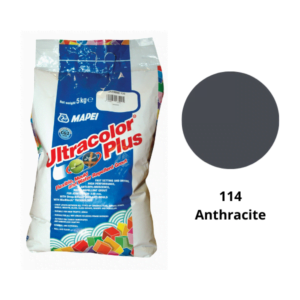 Mapei Ultracolor Plus 114 Anthracite Grout£20.28
 -
 Mapei Ultracolor Plus 120 Black Grout£20.28
 -
 Bellota 10mm Bi Metal Trowel£19.50
2. Mix
Pour your chosen grout into a mixing bucket. Follow the manufactures instructions; you’ll likely need to pour water in whilst mixing with your trowel. Try moving the bucket slightly in a twisting motion, almost like a cement mixer.
Once all the water is absorbed into the, you’ll notice the consistency change to an even sludge. Make sure you get dry grout from the bottom of the bucket into the mix.
Once you’ve properly mixed your grout, leave it to stand for 5-10 minutes – allowing the mix to pre-harden very slightly, easing the process of application.
Note: It is important to use a whole bag of grout, which you’ve shaken well. This is due to the particles of colour, sand, hardener needing to be all mixed as one.
Step 3 – Prep trowel and begin application
You’ll now want to load your trowel. Try and scrape your trowel around the bucket or barrel, keep the motion even and try to prevent grout from falling onto the floor.
Now, it’s time to apply the grout. Apply generously and evenly. Try initially to load your wall with a generous layer of grout, enough to adequately fill the joints. Spread diagonally and forcefully to push grout deeper into the joints.
Work on smaller areas of around 2ft x 2ft before spreading more grout across the whole area as the joints begin to fill. Knowing when to stop can be tricky and it’s best to keep going until you can see that each groove is filled evenly and to the top.
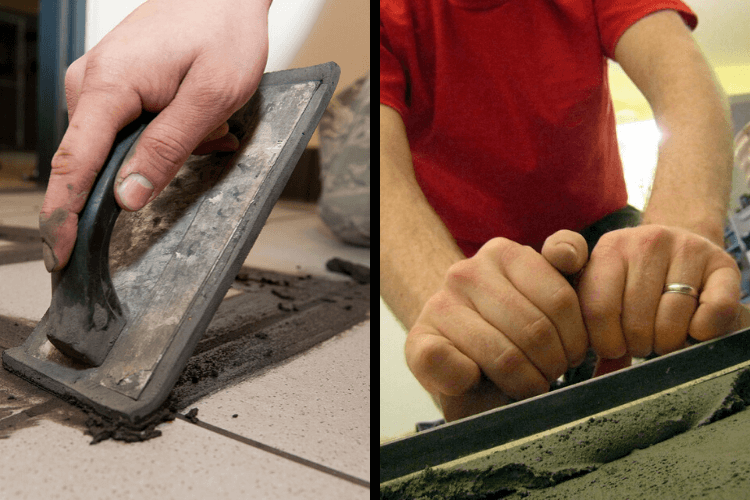
Step 4 – Remove excess grout
Use a squeegee or similar rough but dry sponge to remove the bulk of excess grout. The idea isn’t to scrub the wall clean yet, but simply to remove enough grout that you can see your tiles and assess the gaps between them properly.
Keep the tool you use for this nice and dry – you don’t want to add any moisture into the mix at all at this stage.
Step 5 – Begin to sponge the surface
Now it’s time to step up the clean-up operation by using a moist sponge. Moist is the keyword here – make sure your sponge is NOT wet and especially not dripping.
Sponge away until you’re clearly revealing the surface of your tiles. At this stage, a nice and even finish should emerge. Diagonal movements are best here. You want to avoid pushing against the vertical and horizontal angles of the grout between the tiles.
-
Mapei Ultracolor Plus 119 London Grey Grout£20.28
-
Mapei Ultracolor Plus 100 White Grout£20.28
-
Mapei Ultracolor Plus 110 Manhattan Grout£20.28
-
Mapei Ultracolor Plus 111 Silver Grey Grout£20.28
-
Mapei Ultracolor Plus 112 Medium Grey Grout£20.28
-
Mapei Ultracolor Plus 113 Cement Grey Grout£20.28
-
Mapei Ultracolor Plus 114 Anthracite Grout£20.28
-
Mapei Ultracolor Plus 120 Black Grout£20.28
-
Bellota 10mm Bi Metal Trowel£19.50
Step 6 – Fine-clean the lines
‘Tooling’ is the process of finishing your grout lines to a smooth and even finish.
Use a fairly dry sponge, just enough water to maintain lubrication, and push directly along the edges with your index finger. You want to avoid pushing the grout out – you’re just trying to level it between the tiles.
At this stage, your tile surfaces should be devoid of any real grout and will instead be covered with little more than a ‘haze’.
Note: It’s important to make sure the grout is fairly firm but not hard before you clean it. Check it regularly once applied as it is drying.
Step 7 – De-haze
Leave the grout for at least one hour or until it is fairly firm, otherwise you’ll wash the dust into the grout. It will harden up considerably and you can begin de-hazing the tiles with a microfibre towel. If a residue is difficult to remove, especially on coarse finish tiles then it may be best to use a grout stain remover, like this intensive cleaner from LTP.
Keep it fairly dry to avoid rubbing new moisture into the grooves as this will lengthen curing times. Work the haze off the tiles and it’ll be obvious when the haze clears and hopefully, you’ll reveal a freshly grouted wall or floor with evenly filled grooves!
Step 8 – Let it dry
Different grouts will take longer to fully harden so pay attention to this, reading the instructions on your chosen product, and keep the area completely dry during the process.
Once dry, you can now enjoy your freshly grouted wall or floor long into the future. In wet areas like showers, bathrooms and kitchen splash backs, try using the LTP grout and tile protector spray, this creates a protective surface on the tiles to reduce limescale and grime buildup.
Contact our team
Take a look at the rest of our how-to guides from more tips and advice on your tiling and DIY projects at home. For any help on which tiles, tools and accessories to buy, don’t hesitate to get in touch with our friendly team.
You can contact us on the phone and email, and we’d love to welcome you into your nearest Eurotiles store in the south-east where you can speak to our experts in person and see designs in our showrooms.
-
Mapei Ultracolor Plus 119 London Grey Grout£20.28
-
Mapei Ultracolor Plus 100 White Grout£20.28
-
Mapei Ultracolor Plus 110 Manhattan Grout£20.28
-
Mapei Ultracolor Plus 111 Silver Grey Grout£20.28
-
Mapei Ultracolor Plus 112 Medium Grey Grout£20.28
-
Mapei Ultracolor Plus 113 Cement Grey Grout£20.28
-
Mapei Ultracolor Plus 114 Anthracite Grout£20.28
-
Mapei Ultracolor Plus 120 Black Grout£20.28
-
Bellota 10mm Bi Metal Trowel£19.50
One thought on “How To Grout Tiles In 8 Easy Steps”
Comments are closed.