If you’re in the process of, or about to start, a new tiling project chances are that at some point you’ll come across a space in which your chosen tiles just don’t quite fit! In fact, unless you are tiling a particularly small area, you are nearly always going to have to cut some tiles to fit around windows, pipes, electrics, curved surfaces and doorways etc.
For the beginner DIY’er this can seem like a daunting prospect, but fear not – we’ve put together this handy guide, compiling 5 of our favourite tile cutting methods, to help you achieve a professional finish for your project.
At Eurotiles & Bathrooms we stock everything you’ll need for your tiling project, from porcelain and ceramic tiles to tile spacers, tile nippers and a tile cutting machine for those straight cuts. Want some advice for your project? Our team of friendly experts are happy to answer any questions you may have, just give us a call today on 01903 775778, or send your enquiry to [email protected].

What you’ll need to cut wall tiles
It’s important to have the right tools to hand before you begin your tiling project. We’d recommend having (at least some of) the following tools:
- Steel rule
- Chinagraph pencil or non-stain pen
- Tile scorer
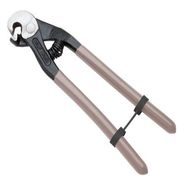
- Tile nipper
- Tile scribe
- Score/snapper tool
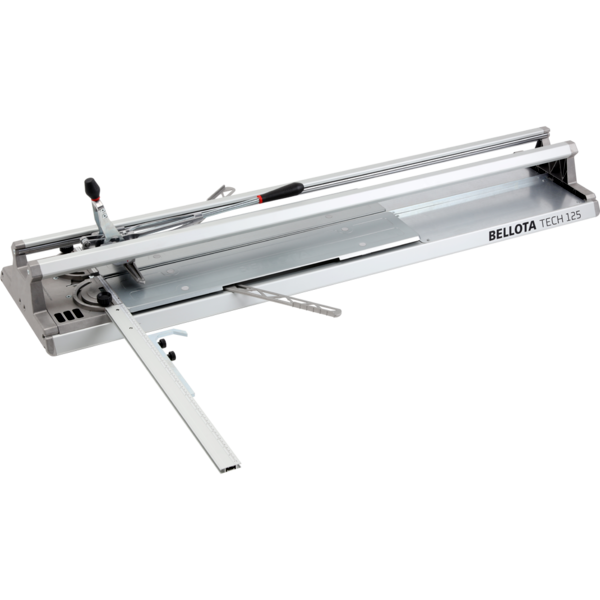
- Tile cutting machine / tile cutter
- Set square
A note on safety
Cutting wall tiles involves the use of sharp implements, for which we always recommend the use of gloves. Always keep knives, files, scribes, etc. out of the reach of children. Wear knee-pads and always cut away from your body, taking care to not cut your hands or fingers.
How to cut wall tiles
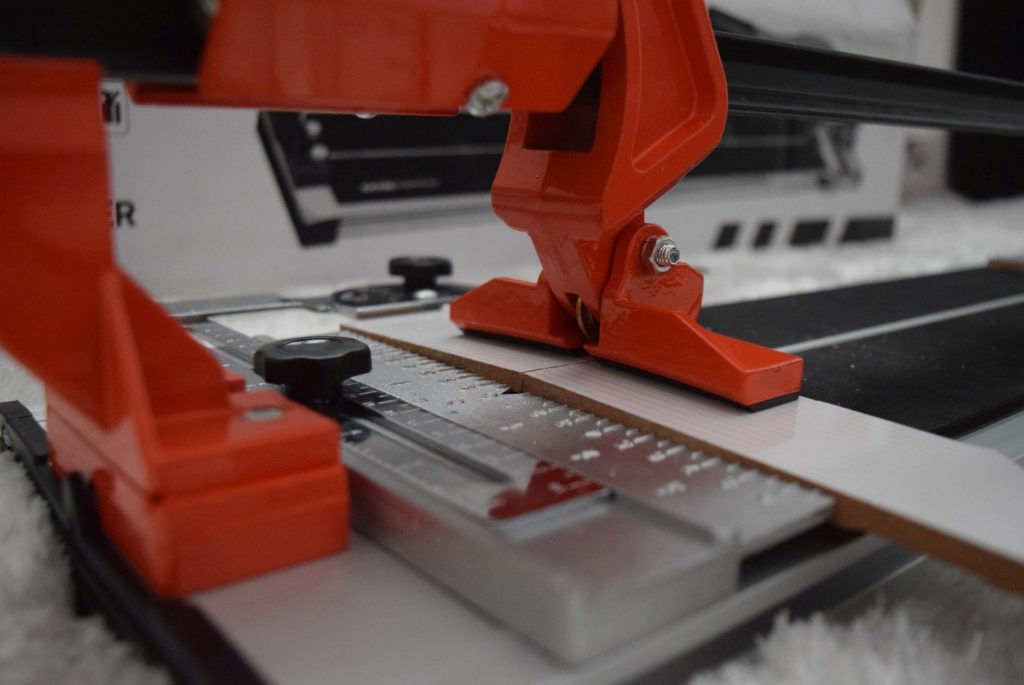
Using a tile slide and snap cutter
This method can be used with most ceramic and porcelain tiles
If you’ve got lots of thicker tiles to cut then it might be wise to invest in a tile slide and snap cutter. These durable tools combine scorers, snappers and a strong bed with a clamp and gauge for measuring tiles accurately and easily.
Step 1: Line up markings
- Mark your tile and place it onto the machine bed
- Line up your markings with the gauge in the tool and bring the scorer component towards the tile
- Score down the tile with the handle
Step 2: Snap into place
Engage the snapper tool against the tile until it makes contact and gently snap the tile in two
Cutting wall tiles in different environments
Method 1
Cutting tiles in curves
Things get slightly trickier when dealing with curves but don’t worry, it’s still doable for your DIY project. One of the simpler methods is to use tile nippers or a round tile saw which features a circular blade.
Step 1: Cut the overlay
- Take a thick piece of card or paper and cut it to the curve you require. This will form an overlay
- Place it over your tile and mark your curve on the tile with your pencil or pen
Step 2: Clamp your tile
- Clamp your tile and use your tile saw (or nippers) to cut slowly along the line
- Smooth any edges using a tile file
Method 2
Cutting tiles around pipes
Cutting tiles to fit around pipes is usually inevitable – that’s the bad news! The good news is that it’s relatively simple to do and you probably won’t have to do it too often when renovating your home.
Step 1: Square up your tile placement
Once you get closer to the sides of the pipe, project lines from your existing tiles to square up where your tile will need to be cut. This will act as a guide for the tile which will fit around the pipe.
Step 2: Transfer markings
Transfer your marked line to the tile.
Step 3: Intersect your markings
- Your projected markings will intersect towards the middle of your tile, forming a square
- You’ll need to take an offcut pipe of the same diameter to place in the middle of this square to then draw your circle in the position the pipe will be
- You’ll then need to cut the tile in two so the circle is intersected exactly in two. This will create the top half and bottom half of the tile to fit around the pipe
Step 4: Cut the tile
You’ll now need to carefully cut the two semi-circles out with a tile saw. Cut slowly and file off extra to create a smooth-edged semi-circle.
Step 5: Encase the pipe
Encase the pipe with the two tile halves. You should have a flush near-invisible edge around the pipe.
Method 3
Cutting tiles for window recesses
Window recesses can be narrow and thus, you’ll need to correctly cut tiles to wrap around them. When you tile a wall face, you’ll need to tile the recess head, the sides and then finally the bottom.
1: For glazed-edge tiles
- Glazed edge tiles have smooth coloured edges, removing the need to corner trim your tiles.
- Once you tile your wall face up to the recess, work backwards and cut tiles so they fit flush in the small spaces of the recess.
2: For corner trims
For corner trims, you’ll need to simply tile to leave adequate space for your rounded trim to slide in.
Also see: Our guide on How to Tile Walls and Floors, and How to Measure for Tiles.
Contact us or visit our stores
With wide ranges of furniture, taps, materials, decorative furnishings, showers and taps and accessories of all kinds, we’re extremely well stocked with everything you could need for your renovation projects, and more!
We’re always happy to assist you with any queries and questions you may have on tiling work, or any other home project.