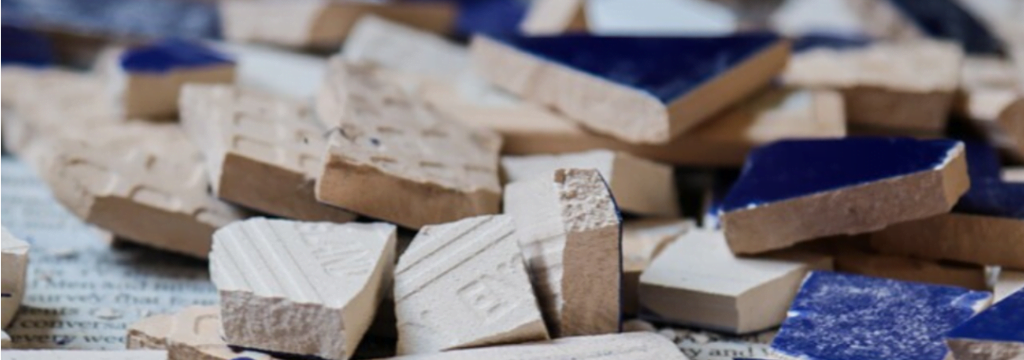
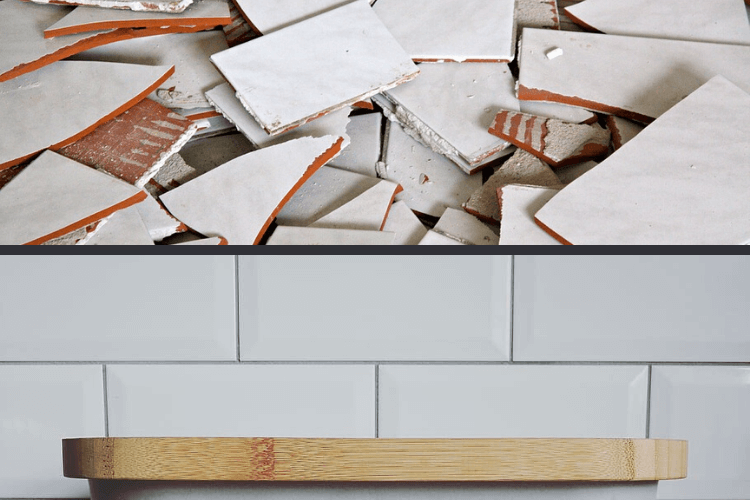
We all break things from time to time. Whether you are moving furniture around the house, or you drop a heavy pan, your wall and floor tiles can occasionally be the unfortunate casualty of one of these typical household accidents.
Luckily, however, you don’t have to live with an unsightly broken tile which could also pose a safety risk in your home. Our expert guide will help you to remove the broken tile or tiles, and replace them to look as good as new.
If you have any questions, get in touch. We stock a huge range of durable tiles for your home renovation projects, as well as tiling tools and protection…
What you’ll need to remove and replace a broken tile
Before you start the process, ensure you have the following materials and tools to hand.
Materials:
- A replacement tile
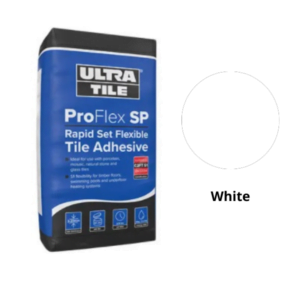
- Tile adhesive
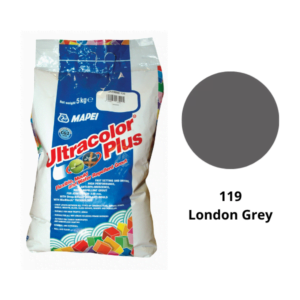
- Grout
- Masking tape
Tools:
- Grout remover
- Combi drill
- Hard tipped drill bits
- Hammer
- Chisel
- Trimming knife – ideally with a 2-3 inch blade and replacement blades
- Grout spreader
- Tile spacers (measured)
- A soft cloth
- Dust sheet
- Bucket of water and sponge
- Dustpan and brush
Safety kit:
- Dust mask
- Heavy-duty gloves
- Protective glasses
Ensure adequate safety
In order to remove the broken tile you will need to chip out the old tile with a hammer and chisel. This can not only make a mess with dust particles and bits of broken tile, but can also cause breathing irritation.
A face mask can alleviate issues with dust. You should ensure that you wear protective glasses as fragments of the broken tile are very sharp and can be extremely painful upon contact with the eyes.
6 steps to remove and replace a broken tile
Step 1: Clear the surrounding area
You should start by ensuring the area you are working in is as clear as possible and free from any obstacles that may hinder you.
As removing a tile can be a messy job you will want to lay down a dust sheet so that the majority of the broken tile (and the consequent dust and debris) that you will be removing can be easily collected in one place.
Ensure that you cover up any plugholes as the debris from the broken tile can cause blockages.
Step 2: Remove the grout
Use grout remover to loosen the grout around your tiles.
Lay masking tape in the centre of the affected tile to ensure that you do not accidentally slip and damage any of the surrounding tiles, and then remove the grout using a trimming knife or a grout rake.
This is a very important part of the task as any grout left in between the tiles can cause a compression on the adjacent tiles, in turn this can cause them to chip off the glaze.
Step 3: Drill into the tile
Being careful not to drill too deep so that it does not bore into any pipes or cables or that it might compromise the structure of the wall or floor, begin drilling at a slow speed into the tape at the centre of the broken tile.
Once a hole has been established you can quicken the speed of your drill.
Step 4: Chip out the centre of the broken tile
Using your chisel within the holes that you have created with your drill, you can begin to take away the centre of the broken tile.
You will want to ensure that you are not too rough when it comes to chipping the tile away. Tap gently and remove the centre slowly moving out to the sides of the tile being careful not to veer off onto the adjacent tiles.
Scrape out the remaining adhesive using your trimming knife.
Step 5: Insert the new tile
First off, check that your tile does not protrude further out than any of the other tiles by pushing it in place without adhesive. If it does jut out from your wall or floor then you will need to remove more of the old adhesive before fitting the new tile.
Once you’re happy, coat the back of your replacement tile with adhesive using a grout spreader and position firmly in the gap so that it is symmetrical with all of your other tiles.
Step 6: Secure the new tile in place
Once you have fitted your new tile flush in place, you will want to grout the tile to ensure it is secured.. In order to achieve this, first fit tile spacers in place to both maintain space for the new grout to be added in and to stop the tile from slipping out of position before the adhesive has had a chance to dry.
After 24 hours you can remove the spacers and add the new grout into the space around your new tile.
Also see: Our guide on How to Tile Walls and Floors
How Eurotiles & Bathrooms can help
At Eurotiles & Bathrooms we have everything you need to remove and replace a broken tile. As experts in home improvement we are also on hand to help with any queries or questions you may have in relation to DIY work you would like to carry out yourself.
We understand that all of our customers have varying levels of confidence and knowledge when it comes to carrying out DIY tasks, and we’re on hand to help you with all of your questions, be it the tools that you or your tradesman will need to carry out the job, or simply advice as to the best way to approach the task in hand.
To find out more about how we can help you with your tiling and home improvement needs get in touch on 01903775778 or via our email address at [email protected].